


How to Sharpen Twig Pencils Without Damage
How to Sharpen Twig Pencils Without Damage
Proper sharpening technique protects the natural bark edge on Twig Pencils, each handmade from Winesap apple tree branches by artist h.m. Peavy. A sharp, manual sharpener with a stable blade works best. Slow, steady rotation, rather than forced pressure, preserves bark texture, keeping each rustic, one-of-a-kind pencil intact and functional for writing or sketching.
How to Sharpen Twig Pencils
Sharpening a twig pencil differs from sharpening a factory-made pencil. The natural bark, the irregular wood grain, and the absence of a manufactured core all change the process. A standard handheld sharpener often snaps the delicate lead or chews the bark. The reliable method uses a sharp knife and a patient hand. This guide walks through the safe, effective technique for getting a fine point on apple wood twig pencils.
Gather the Right Tools First
Before sharpening, collect the necessary items. A pocketknife or utility knife with a sharp blade tops the list. A dull blade crushes the wood instead of cutting it. A scratch awl or nail helps clear the lead channel. Keep a small piece of fine sandpaper nearby for smoothing the tip. Work over a trash bin or scrap paper to catch shavings. Adult supervision is required for younger crafters, as stated in the brand's own project guide.
| Tool | Purpose |
|---|---|
| Pocketknife or utility knife | Carving the wood away from the core |
| Scratch awl or nail | Clearing the lead channel of debris |
| Fine sandpaper | Smoothing the finished point |
| Trash bin or scrap paper | Catching shavings for easy cleanup |
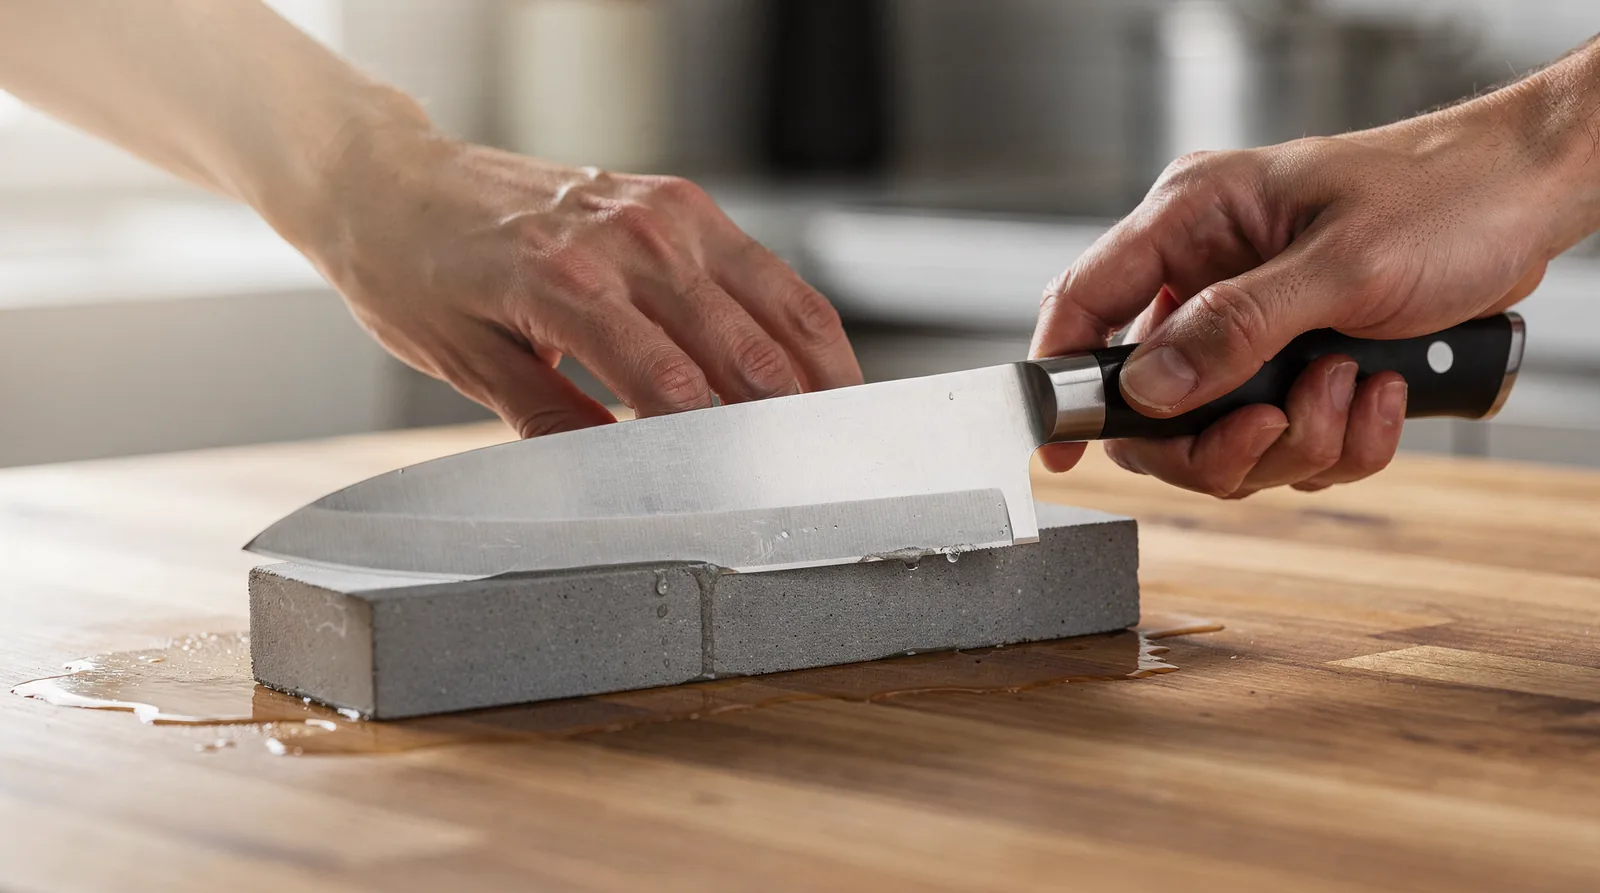
The Step-by-Step Sharpening Process
Follow these steps in order for the best results. Each step builds on the previous one.
Step 1: Prepare the work surface. Lay down scrap paper or open a trash bin within reach. Good lighting matters. A well-lit area prevents slips and makes the grain visible.
Step 2: Hold the twig pencil firmly. Grip the pencil near the base, not the tip. Rest the hand against a stable surface. The wrist stays steady while the knife does the cutting.
Step 3: Angle the blade away from the body. Position the knife at a shallow angle against the wood. The blade cuts away from the hand at all times. This safety habit prevents injury.
Step 4: Shave the bark and wood in thin layers. Work around the circumference of the twig. Take off small strips, rotating the pencil after each cut. Thin shavings expose the lead without snapping it. The natural shape of each apple wood pencil means the wood thickness varies, so adjust pressure accordingly.
Step 5: Expose the lead core. Continue shaving until the 2mm drafting lead becomes visible. The goal is a bare lead length that is short enough to stay strong. Too much exposed lead snaps easily. Too little makes writing uncomfortable.
Step 6: Shape the lead point. Use the knife to whittle the exposed lead into a cone. Work gently. The 2B grade lead is soft and brittle. Small, light cuts produce the cleanest point.
Step 7: Clear the lead channel. Use the scratch awl or nail to push any wood dust out of the channel behind the lead. A blocked channel causes the lead to crumble during use.
Step 8: Smooth the tip. Rub the finished point on fine sandpaper. A few light strokes remove burrs and create a smooth writing surface.

Common Mistakes to Avoid
Several errors ruin a twig pencil point. Cutting toward the body risks serious injury and always ends the session. Shaving too aggressively snaps the soft 2B lead. Exposing too much lead creates a fragile point that breaks on the first stroke. Using a dull blade crushes the wood fibers, producing a rough, splintery point instead of a clean one.
The forgiving nature of apple wood makes this process easier than it sounds. Winesap apple tree branches grow with a straight grain that carves cleanly. Each twig pencil has its own natural shape and texture, so no two sharpening sessions feel identical. Some twigs need more work near the tip. Others expose the core quickly. Patience delivers the reward: a functional pencil with a one-of-a-kind character that no factory product matches.
How do you sharpen without damaging bark?
Sharpening a twig pencil while keeping its bark intact requires a careful hand and the right technique. The natural bark on each apple wood pencil is part of its rustic appeal. Every twig carries its own shape and texture. Preserving that exterior matters to maintain the character handmade twig pencils bring to the desk.
What tools prevent bark tearing?
A sharp blade makes the difference between clean cuts and torn bark. A pocketknife or utility knife works well for this task. Dull edges catch on bark fibers and pull them loose. Customers should work slowly, applying light pressure with each stroke. Too much force crushes the twig or splits the wood underneath the bark.
How does clamping improve the outcome?
Stabilizing the twig prevents slips that gouge the bark. Clamping the twig to the edge of a workbench or a piece of plywood holds it steady. This gives full control over each cut. The extra stability lets crafters focus on the angle of the blade rather than fighting a rolling stick.
How to sharpen twig pencils without damaging the exterior comes down to three steps:
- Clamp the twig securely to a stable surface using a workbench clamp or a piece of plywood.
- Choose a sharp pocketknife or utility knife for clean cuts that do not tear bark fibers.
- Shave thin layers from the tip, working slowly and stopping at the first sign of resistance.
Rushing through the sharpening process invites split wood and ragged bark. A twig pencil that loses its natural bark loses the very feature that makes it special. Taking time on the sharpening step preserves both the tool and the experience of writing with something grown, not manufactured.
What is the best sharpening method for twig pencils?
A pocketknife or utility knife is the best sharpening method for twig pencils. Hand sharpening with a blade preserves the natural bark and organic shape that makes each apple wood pencil unique. Standard pencil sharpeners often splinter the bark or break the irregular wood, ruining the rustic character of the pencil.
Why a knife works better than a standard sharpener
Each twig pencil has its own natural shape and texture. A standard pencil sharpener expects a perfectly round, uniform shaft. Forcing an irregular twig into a sharpener cracks the bark, snaps the lead, and strips away the handcrafted character. A knife allows the user to follow the natural curve of the wood, removing only what is necessary to expose the graphite or colored lead.
Step-by-step: How to sharpen twig pencils with a knife
- Hold the twig pencil in the non-dominant hand, gripping it as a standard pencil. Angle the tip away from the body.
- Position the blade of a pocketknife or utility knife against the wood at a shallow angle from the surface.
- Shave thin layers of wood away from the tip, working in short strokes away from the body. Rotate the pencil after each stroke to maintain an even taper.
- Expose the lead gradually. Stop shaving when a short length of graphite or colored lead is visible.
- Shape the lead point on a fine-grit sandpaper or a sharpening stone if a finer point is needed for detailed sketching.
How to avoid breaking the lead during sharpening
The 2B graphite and colored leads inside twig pencils are softer than standard pencil cores. Applying too much pressure with the knife snaps the lead before the wood is cut. The solution is to shave the wood in very thin, feather-light strokes. Let the blade do the work. Pushing hard into the wood crushes the lead inside the shaft, creating a blunt tip that requires more sharpening to correct.
What to do with the shavings
The apple wood shavings from sharpening carry a mild, sweet scent. Many users collect the shavings in a small jar or use them as natural fire starter for campfires. The shavings also compost well, returning the sustainably sourced wood to the earth without waste.
How to Sharpen Twig Pencils
Sharpening a twig pencil requires a different approach than a standard pencil. The natural wood grain and irregular shape demand a careful, two-stage process. A pocketknife or utility knife, a scratch awl or nail, and a small clamp are the only tools needed. The goal is a functional graphite point that survives the wood's natural texture.
Prepare the Workspace and Tools
Safety comes first. Twig pencils require a sharp blade, so adult permission or supervision is mandatory for younger crafters. Gather a pocketknife or utility knife, a scratch awl or nail, and a clamp before starting. Work over a sturdy table or workbench with good lighting. A cutting mat or scrap wood protects the work surface from knife marks.
Step 1: Clamp the Twig Securely
Secure the twig pencil in a clamp before any cutting begins. Position the twig so the end to be sharpened extends past the clamp's jaws. This keeps fingers clear of the blade path. A firmly held twig prevents slips and produces a cleaner cut. Test the grip by gently tugging on the twig before proceeding.
Step 2: Whittle the Wood Casing
Hold the knife at a shallow angle against the twig's surface. Push the blade away from the body, shaving thin layers of bark and wood. Rotate the twig a quarter turn after each pass to maintain an even taper. Continue this process until the lead is exposed along a gradual slope. A long, gentle taper provides the strongest point. Avoid deep cuts, which can snap the lead inside the wood.
Step 3: Expose the Graphite Lead
The twig pencil uses 2mm-diameter drafting lead in 2B grade. Whittle the wood down until the lead is visible for a short length. Work slowly at this stage. The natural grain of the apple wood can cause the lead to break if the wood is cut too aggressively. Keep the exposed lead short to maintain strength.
Step 4: Shape the Point with a Scratch Awl
Use a scratch awl or a nail to refine the point. Gently scrape the exposed lead against the awl's tip, rotating the twig pencil as the lead takes shape. This method produces a fine, consistent point without the pressure of a knife blade. A sharp point works well for writing and detailed sketching. A slightly blunter point suits shading and broader strokes.
Step 5: Test and Adjust the Point
Test the sharpened twig pencil on a scrap piece of paper. Apply light pressure and draw a few lines. If the lead feels rough or scratches the paper, repeat the scraping step with the awl. If the point snaps, expose a bit more lead and reshape it. The twig pencil should glide smoothly, leaving an even mark. Adjust the taper angle if the point feels fragile.
Step 6: Clean and Finish
Wipe away wood shavings and graphite dust from the finished point. A soft cloth or tissue removes loose particles that could smudge the work. Store the sharpened twig pencil point-down in a cup or pencil case to protect the tip. Resharpening follows the same steps, so the process becomes quick with practice.
Common Mistakes to Avoid
Rushing the whittling stage causes most broken points. Cutting toward the body risks injury and should never happen. Using a dull blade crushes the wood instead of slicing it, which leads to splintering. Skipping the clamp makes the twig unstable and increases the chance of a slip. Each of these errors is avoidable with patience and the right technique.
Choosing the Right Twig for Sharpening
Not every twig sharpens well. Straight sections of Winesap apple tree branches work best, as forked or heavily curved pieces make even sharpening difficult. The twig's diameter should feel comfortable in the hand, similar to a standard pencil. Bark with interesting color or texture adds character but should sit apartment against the wood beneath. A straight, smooth section produces the most reliable point.
Maintaining the Sharpened Point
A freshly sharpened twig pencil loses its point with regular use. Keep a scratch awl or fine sandpaper nearby for quick touch-ups. Light pressure while writing preserves the point longer than heavy strokes. When the point dulls completely, repeat the whittling and scraping steps. With care, a single twig pencil lasts through many sharpenings before the twig becomes too short to hold.
What common mistakes should you avoid?
Sharpening twig pencils requires patience and the right technique. A dull blade tears the bark and splinters the wood, ruining the pencil's natural finish. Rushing the process crushes the twig or breaks the lead inside. Standard pencil sharpeners fail on irregular apple wood shapes and should never be used.
Why does a dull blade cause problems?
A pocketknife or utility knife works best for how to sharpen twig pencils. A dull blade catches on the bark instead of cutting cleanly. This rips the surface and creates jagged splinters along the shaft. The result is a rough, uneven point that writes poorly and looks unfinished.
What happens when someone rushes the sharpening?
Applying too much pressure during sharpening crushes the twig. The force compresses the wood fibers and snaps the delicate graphite core inside. Broken leads require cutting the pencil back and starting over. Slow, light strokes preserve both the bark and the writing tip.
Why check the twig for bugs first?
Twigs collected from the ground often harbor insects. A hidden bug tunnel weakens the wood structure. Sharpening exposes the hollow cavity, and the pencil crumbles at that point. Inspecting the twig before work prevents this wasted effort.
| Mistake | Consequence |
|---|---|
| Dull blade | Torn bark, splintered wood |
| Too much pressure | Crushed twig, broken lead |
| Skipping bug check | Hollow cavity, pencil collapse |
| Using standard sharpener | Damaged bark, uneven point |
Conclusion
In closing, sharpening your Twig Pencils with care preserves the natural beauty that makes each handcrafted pencil special. By respecting the apple wood bark during the sharpening process, you honor the sustainable craftsmanship behind every pencil. These rustic writing instruments deserve thoughtful handling that celebrates their artisanal quality, ensuring they remain as striking to look at as they are satisfying to write with.